SUMMARY
ASIC (Application-Specific Integrated Circuit) miners are powerful machines designed for one purpose only—mining cryptocurrency. They offer much higher efficiency and hashrate compared to CPUs and GPUs. However, to operate effectively, ASIC miners require proper setup. This guide walks you through every step of setting up your ASIC miner, from unboxing to mining pool configuration and troubleshooting.
Introduction to ASIC Miners
ASIC miners are specialized hardware devices optimized for mining a specific algorithm, such as SHA-256
Unboxing and Physical Setup
What’s in the box
ASIC miner
unit- Power cable (most miners now come with a built-in power supply)
- Optional: network cable, Wi-Fi antenna, user manual
Setup Tips
- Location matters:Professional-grade ASIC miners can generate extremely loud noise (70–80 dB or more). However, many newer home-use miners are designed to run very quietly, with noise levels similar to a gaming PC or desktop workstation. This makes them more suitable for residential use.
- Stable surface:Place the miner on a stable, flat surface to avoid vibrations and ensure proper airflow.
- Avoid dust:Keep the area clean to prevent dust from clogging heatsinks or fans.
Power and Network Connections
Power
- Most modern ASIC miners come with a built-in PSU, so you just need to connect the included power cable.
- Operating voltage is typically between 110V and 220V, making them compatible with household or industrial power supplies in most regions.
- Use a surge protector or industrial-grade PDU for safety.
Network
- Wi-Fi support: Many newer miners support Wi-Fi, but if both Wi-Fi and Ethernet are available, always prioritize a wired Ethernet connection for greater stability and speed.
- Ensure your miner and computer are on the same local network and subnet for access and configuration.
Find the Miner’s IP Address
Before configuration, you need to identify the device’s IP address.
Methods to find IP
- Router Admin Panel: Log in to your router and look at connected devices. The miner is usually labeled by brand (e.g., Antminer, WhatsMiner).
- IP Scanner Tool: Tools like Advanced IP Scanneror Angry IP Scanner can scan your local network and show active IPs.
Note: Ensure your PC and miner are on the same local network and subnet, otherwise the browser can’t access the miner interface.
Access the Miner’s Control Panel
Once you’ve identified the IP address:
- Open a browser on your PC.
- Enter the IP into the address bar.
- Log in with the default username and password (e.g., root/root, admin/admin, or check the manual).
- You’ll now see the dashboard, where you can configure mining settings and monitor status.
Configure the Mining Pool Settings
Now it’s time to connect your ASIC to a mining pool.
Steps:
- Open the miner’s dashboard and go to the Mining Configuration or Pools section.
- Enter the pool’s stratum URL (e.g., stratum+tcp://litecoin.f2pool.com:3333)
- Use the proper worker name, usually in the format username.worker1
- Add a password if required (default is often x)
- Set backup pool URLs (optional)
- Click save or apply to start mining
Need more help? If you’re unsure about mining pool details or the proper format for worker names, check out our detailed guide: How to Join a Mining Pool: A Step-by-Step Guide
Setup Your Wallet Address
You need a wallet to receive mining rewards. Make sure the wallet matches the coin you are mining: Examples:
- Bitcoin (BTC) → BTC wallet
- Litecoin (LTC) → LTC wallet
- Dogecoin (DOGE) → DOGE wallet
- Ethereum Classic (ETC) → ETC wallet
If the pool offers merged mining How to Choose a Crypto Wallet
Monitor and Optimize Performance
After configuration, your miner should start hashing. Use the dashboard to monitor:
- Hashrate: Check that it’s close to the model’s expected performance.
- Temperature: Keep below 80–85°C for stability and hardware longevity.
- Fan speed: Auto settings usually suffice, but some models allow custom settings.
- Uptime and errors: Check for hardware errors, rejected shares, or restarts.
Maintenance Tips:
- Clean dust from fans and heatsinks regularly.
- Ensure your network connection is stable.
- Use a UPS (Uninterruptible Power Supply) if frequent power loss is a risk.
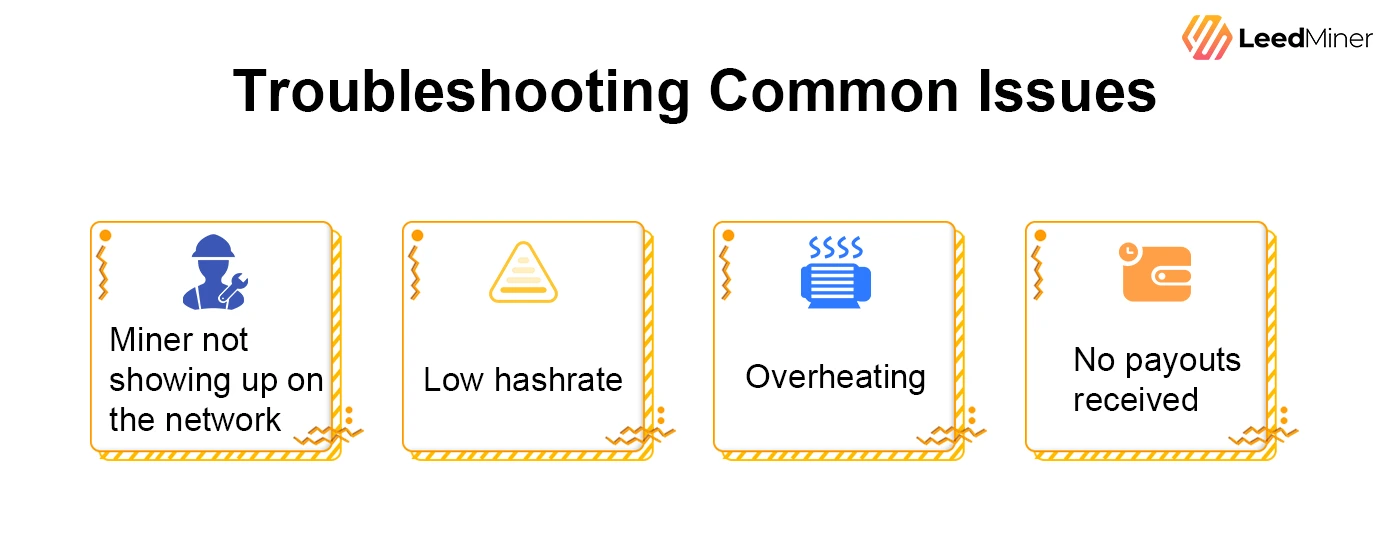
Troubleshooting Common Issues

Miner not showing up on the network
- Reboot the miner and router
- Ensure the Ethernet cable is working
Low hashrate
- May indicate one board is malfunctioning
- Check fan status and temperature
- Try reapplying pool settings or updating firmware
Overheating
- Improve ventilation
- Lower ambient room temperature
- Replace faulty fans if needed
No payouts received
- Check wallet address
- Ensure you’ve met the pool’s minimum payout threshold
- Review pool dashboard for earnings records


